Repairing a sagging overhang
During a roofing project, a problem was discovered on the front overhang. When weight was applied to the overhang, it was found to bounce and bend rather easily. Further investigation was warranted.
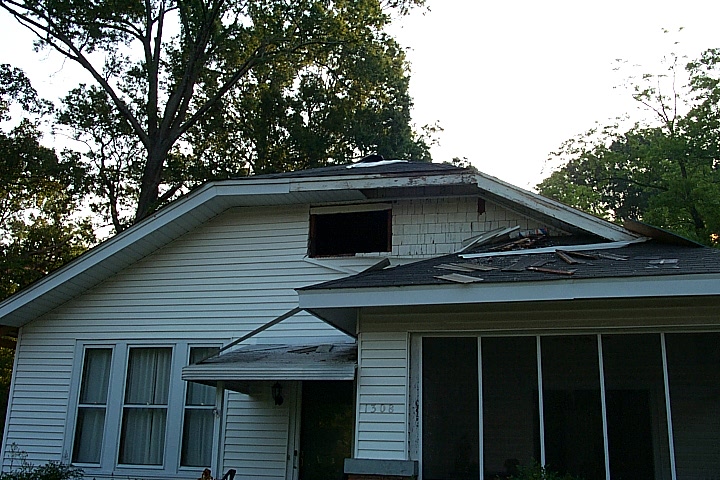
The front overhang sagged badly to the right, and there was a strange ripple in the main roof near the edge. The gable vent was removed to gain access to the roof, allowing easy referencing of across the outer wall. When the aluminum siding was removed, it was found to be covering a highly desirable cedar shake header. The decision has already been made to restore that shake header.
The sagging had also allowed the roof to buckle, as seen to the right hand side of the above photo. The ridge looks like a badly broken nose.
Either roofing techniques at the time of construction allowed for the horizontal ridge to be constructed where the roof met the wall or the overhang was constructed after the initial construction, but today it is just an unsightly blemish and will be removed during reconstruction of the overhang.
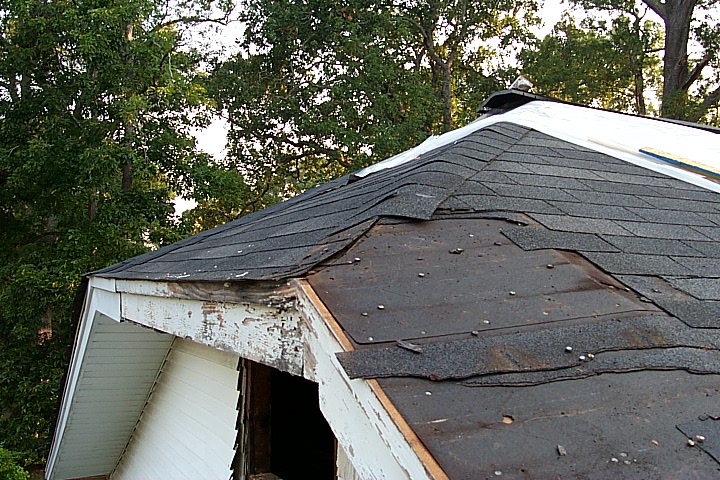
Here is the culprit - a critical support was removed when the aluminum siding was installed. Since the original ridge beam had been notched where it met the outside wall, removing the support detail left the overhang supported by a ridge beam only two inches thick at the fulcrum. It was only a matter of time before the overhang collapsed and caused significant damage to the rest of the roof.
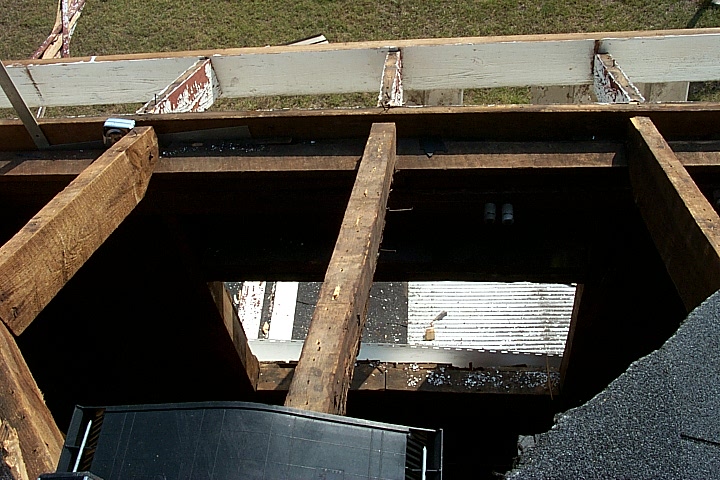
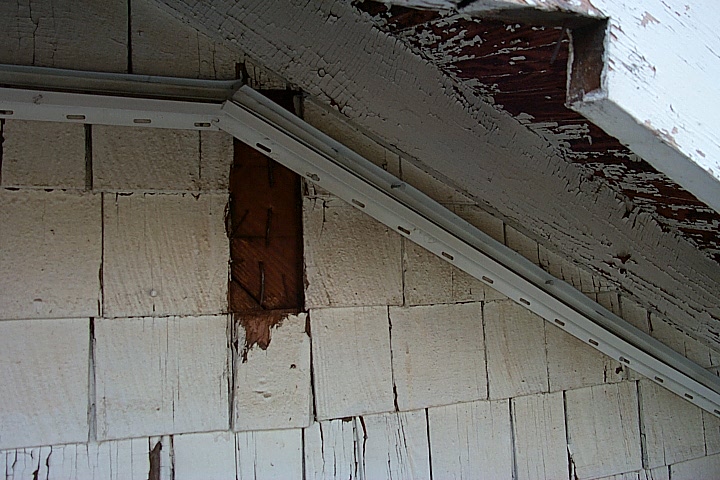
The original tongue and groove wood was removed. Note that the cosmetic rafters in the overhang are no longer attached to the cross beam, as the sagging had pulled them loose. The notching of the beams where they meet the outside wall is similar to the notching of the ridge beam (most easily seen on the left most beam), but the ridge beam had additional notching at the top, for an unknown reason. At this point, the overhang cross beam was held in place by only a couple of nails at either end. The next step is to reinforce the ridge beam, and then reattach the cross beam.
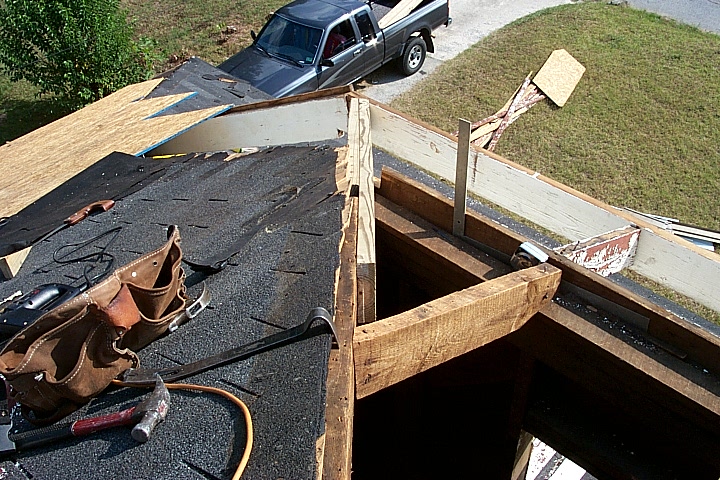
The original ridge beam broke as soon as an upward force was applied to it, which was done to attempt to adjust its positioning. This meant that a new beam had to be sistered to it from both the top and the side. The side sister beam has also been notched to meet the outside wall, so the combined support is slightly more than four inches of wood. Not ideal, as six or eight would be best, but this was not possible without significant cosmetic work.
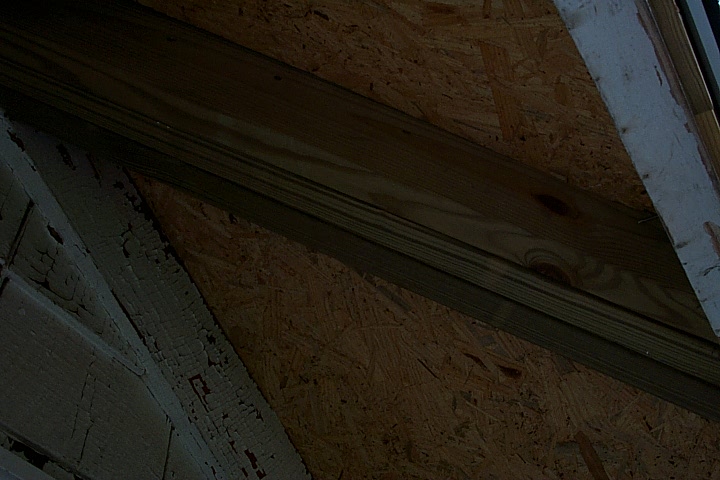
The overhang comprised of a center cross beam with an angled beam on each side rising to meet it. After the reconstruction, the right side beam did not properly connect to the center beam, a result of a slight height change as well as sagging by the side beam due to supporting a disproportionate amount of the overhang weight. To reattach the side beam properly while meeting cosmetic concerns, a third beam was sistered to the other two beams between the outer wall and the side beam. This third beam provides only a small amount of load bearing. Three layers of half inch OSB were placed on the overhang such that the roof made a smooth transition to the overhang.
The final product
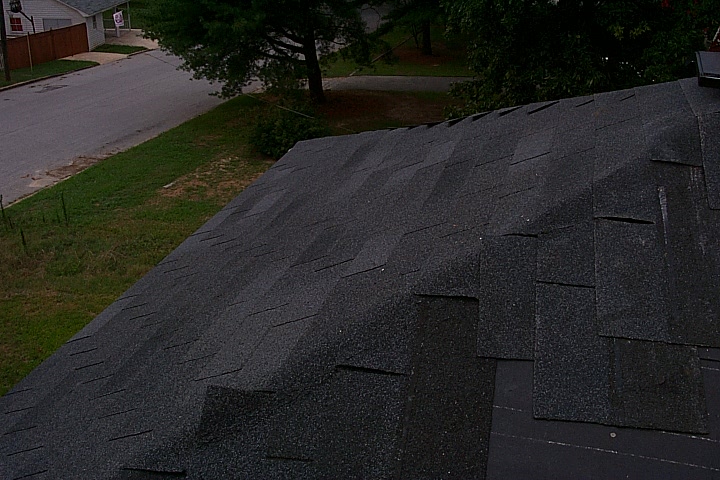
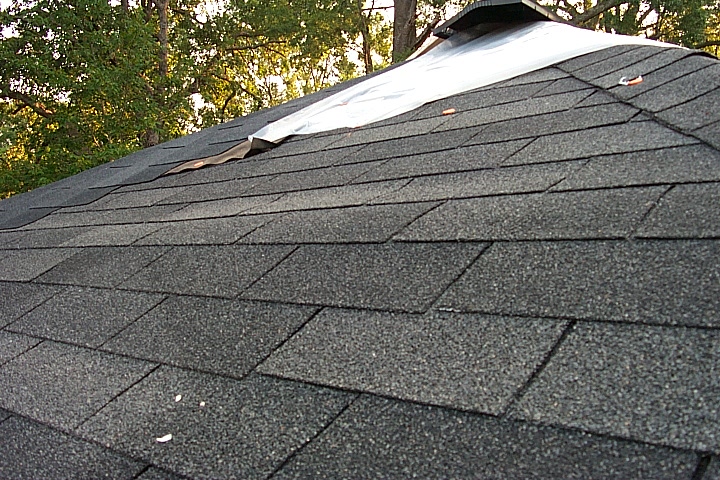
Since the roof is still being worked on, the new shingles have not been trimmed, in order to provide cover for the ridge until the proper shingling technique can be applied.
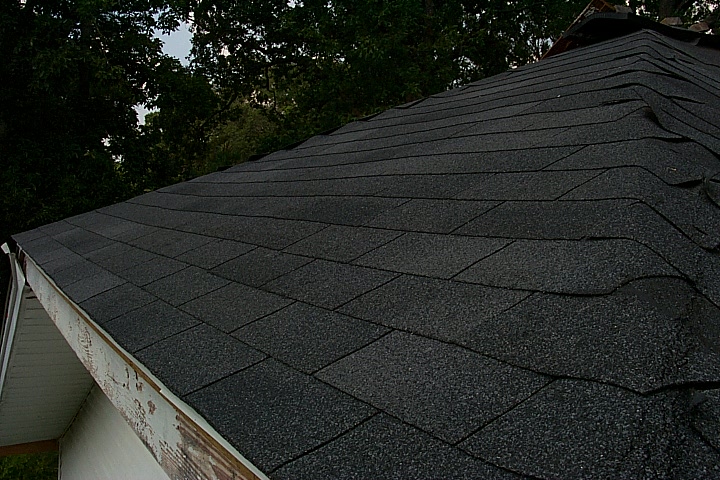
The ridges and valleys are gone, leaving a nice smooth look.
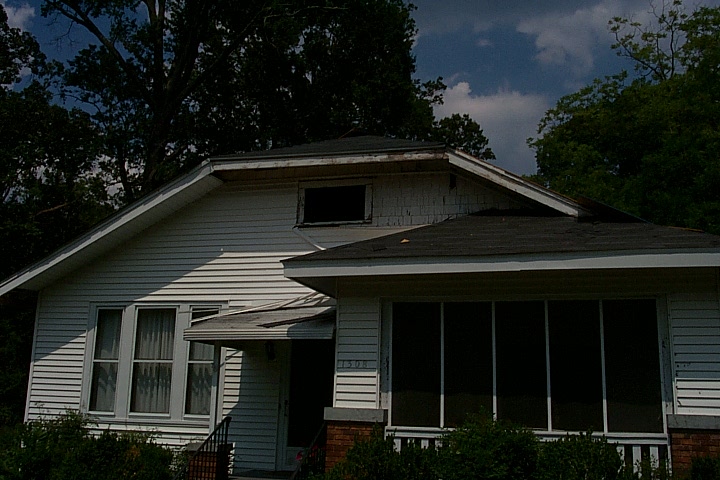
From the street, the house looks more square, and even a bit prouder. Before the end of the roofing construction, the tacky aluminum overhang will be removed and the front porch roof will be extended to cover the front entrance way. This addition overhang will be raised to the same level as the screen porch and will open up the front entrance very well. Check back for discussion of the progress.